
Wildflower Lesson #17: Tags & Inserts

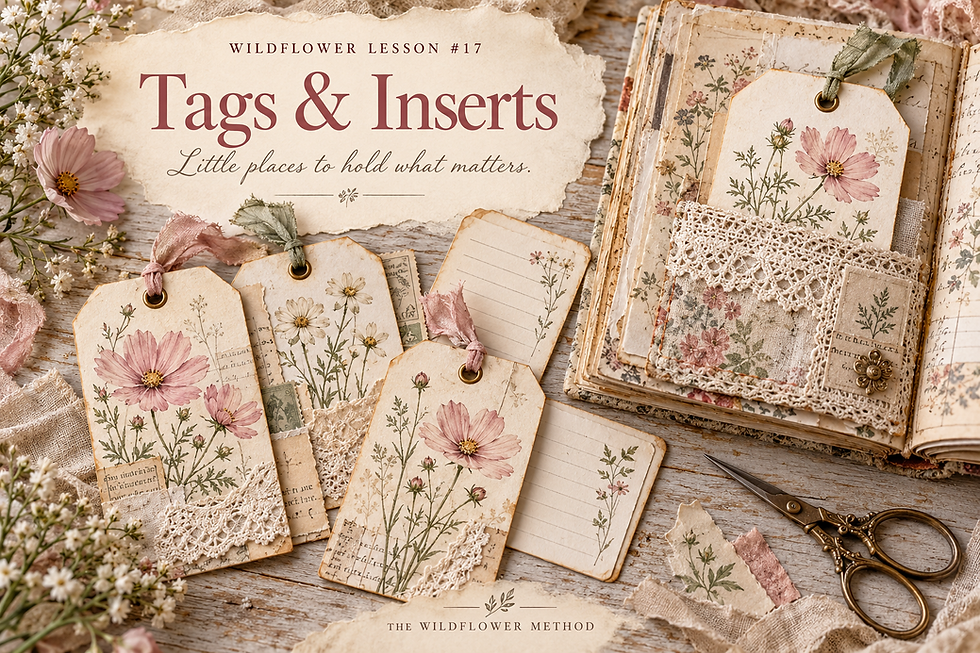
Little places to hold the things you want to remember.
There are moments we think we’ll remember without writing them down.
A conversation that left us smiling. Something we noticed in the garden. A few words that arrived while we were making a cup of tea.
Then the day gets busy, and those little details slip away.
That’s one of the things I love about creative journaling. It gives us somewhere to gather these pieces of everyday life. And sometimes, all we need is a small tag with a sentence on the back.
This week’s Wildflower Lesson is Tags & Inserts—a simple way to add little writing spaces, memories and botanical details to your journal.
If you joined me for Lesson #16, Pockets & Tuck Spots, we’re making something lovely to slip inside them.
A little space to begin
A whole blank page can sometimes feel a bit much. You sit down to create, look at your supplies and wonder where to start.
A tag gives you a smaller space to work with.
Choose a scrap of paper.
Add a flower.
Write a few words.
You can make one little piece and feel the pleasure of finishing it, without needing to plan an entire journal spread.
Think of the small things you notice on a walk: the shape of a leaf, a seed head catching the light, a tiny flower beside the path. When you pause long enough to look, there’s often something worth remembering.
Your journal can hold those small discoveries too.
“A small piece of paper can hold something worth keeping.”
What are tags and inserts?
Tags are small pieces of card, often with snipped top corners and a hole for ribbon or twine.
Inserts are loose pieces you tuck into your journal: a decorated card, a photograph with writing on the back, or a little rectangle of paper holding a memory.
Because they’re removable, you can take them out to write, turn them over, or move them to another page.
They add interest to your journal while giving you extra room for your words.
Gather your supplies
You can begin with things you already have:
Lightweight cardstock, a manila folder or a clean cereal box
Paper scraps, old book pages or tea-dyed paper
Scissors
Glue
A pen
A journal pocket or tuck spot
Optional extras include a hole punch, ribbon, twine, lace, washi tape or botanical cut-outs.
If you’re using packaging as your base, cover the printed side with paper.
Keep your layers fairly thin so your finished piece slides easily into its pocket.
How to make DIY junk journal tags and inserts
1. Cut your card
Check the size of your journal pocket, then cut your card slightly smaller. Leave a little room around the edges so it won’t catch when you slide it in.
A 6 × 12 cm tag is a useful starting point, but let your journal guide you.
Try the undecorated card in the pocket before you continue.
2. Shape your piece
For a classic tag, snip a small triangle from each top corner.
For an insert, keep a simple rectangle or gently round the corners. You could also tear an edge if you enjoy a softer, worn-paper look.
It’s fine if your corners aren’t perfectly even. You’re making something by hand, and you can adjust it as you go.
3. Add your layers
Choose a few pieces that you enjoy together.
Perhaps a strip of old book paper, a botanical cut-out and a little lace. Or tea-dyed paper with a single flower image.
Move them around before gluing. Leave some of your background showing, and keep the back clear if you’d like space to write.
Use a light layer of glue and smooth everything down.
4. Give it meaning
Add something you’d like to return to:
A word that describes your day
A small moment of gratitude
A date and a memory
A kind reminder to yourself
A question you want to explore
If you’re unsure what to write, begin with:
“Something I want to remember about today…”
A sentence is enough. You can always come back and add more.
5. Finish and tuck it in
Punch a hole near the top of your tag and thread through a short piece of ribbon or twine.
For an insert, you could glue a small folded paper tab over the top edge to make it easier to pull out.
Let the glue dry completely, then tuck your finished piece into your journal.
Leave a little of the tag or tab showing, inviting you to return.
Ways to use your little paper treasures

Make a gratitude tag. Decorate the front and write one thing you’re grateful for on the back. Add another whenever you feel like it.
Keep a small memory. Record a lovely conversation, a moment in the garden or something that made you laugh. Include the date so you can place it in your story later.
Tuck away encouraging words. Write yourself a reminder you’d appreciate finding on a harder day. Something as simple as “You can take this one step at a time.”
Add a photograph. Attach a small photo to an insert and tell its story on the reverse.
Create a prompt card. Write a Soul Inquiry question on a tag and keep it ready for your next quiet journaling session.
Why this little practice matters
Creating on a small surface gives you a manageable place to experiment. You can try a colour combination, use a treasured scrap or practise layering without committing to a whole page.
It also gives you a reason to pause and notice what you want to keep.
Over time, those little notes become part of your journal’s story. You might pull out a tag months from now and remember a moment you would otherwise have forgotten.
There’s something lovely about making room for everyday life in that way.
Soul Inquiry

Choose whichever question catches your attention. Write on the back of your tag, use a separate insert or open your journal and see where the words take you.
What small moment from this week would I like to keep?
What feels easier when I give myself a smaller place to begin?
Which words would I love to find tucked inside my journal?
What part of my story would I like to make room for?
What would I create today if I trusted that simple was enough?
You can answer one question and leave the others for another day.
Your Wildflower Journey
LEARN — Explore how tags and inserts add removable writing spaces to your journal.
CREATE — Make one piece using supplies you already have.
COLLECT — Keep your lesson PDF with your growing Wildflower resources.
REFLECT — Choose a Soul Inquiry prompt and add a few honest words.
SHARE — If you feel comfortable, share your creation or show someone how you made it.
BLOOM — Return to the technique whenever you have a memory, thought or paper scrap you’d like to keep.
Gather one piece of card, two paper scraps and a pen.
Give yourself fifteen minutes to make one tag or insert. Add a few words about something you noticed today, then tuck it into your journal.
You can stop there and enjoy what you’ve made.
The next time you open your journal, you’ll have a little piece of today waiting for you.
Come and create with me
Visit the Wildflower Lesson Library to explore this week’s lesson and download the Tags & Inserts lesson PDF to keep beside you while you create.
For access to past lessons and a growing collection of creative resources, join the Wildflower Garden Collective and keep exploring at your own pace.
For today, start with one little tag. See what you’d like it to hold.
Create from your heart. Inquire with your soul. Bloom wildly.


Comments